Every tech has been there.
Forty-five minutes into troubleshooting, someone asks:
“Is the laser actually on?”
It was not.
No shame in it.
The basics are often the first things skipped when you are moving quickly, working on a noisy plant floor or trying to set up equipment while several people are asking questions.
And that is exactly when simple mistakes can turn into unnecessary troubleshooting.
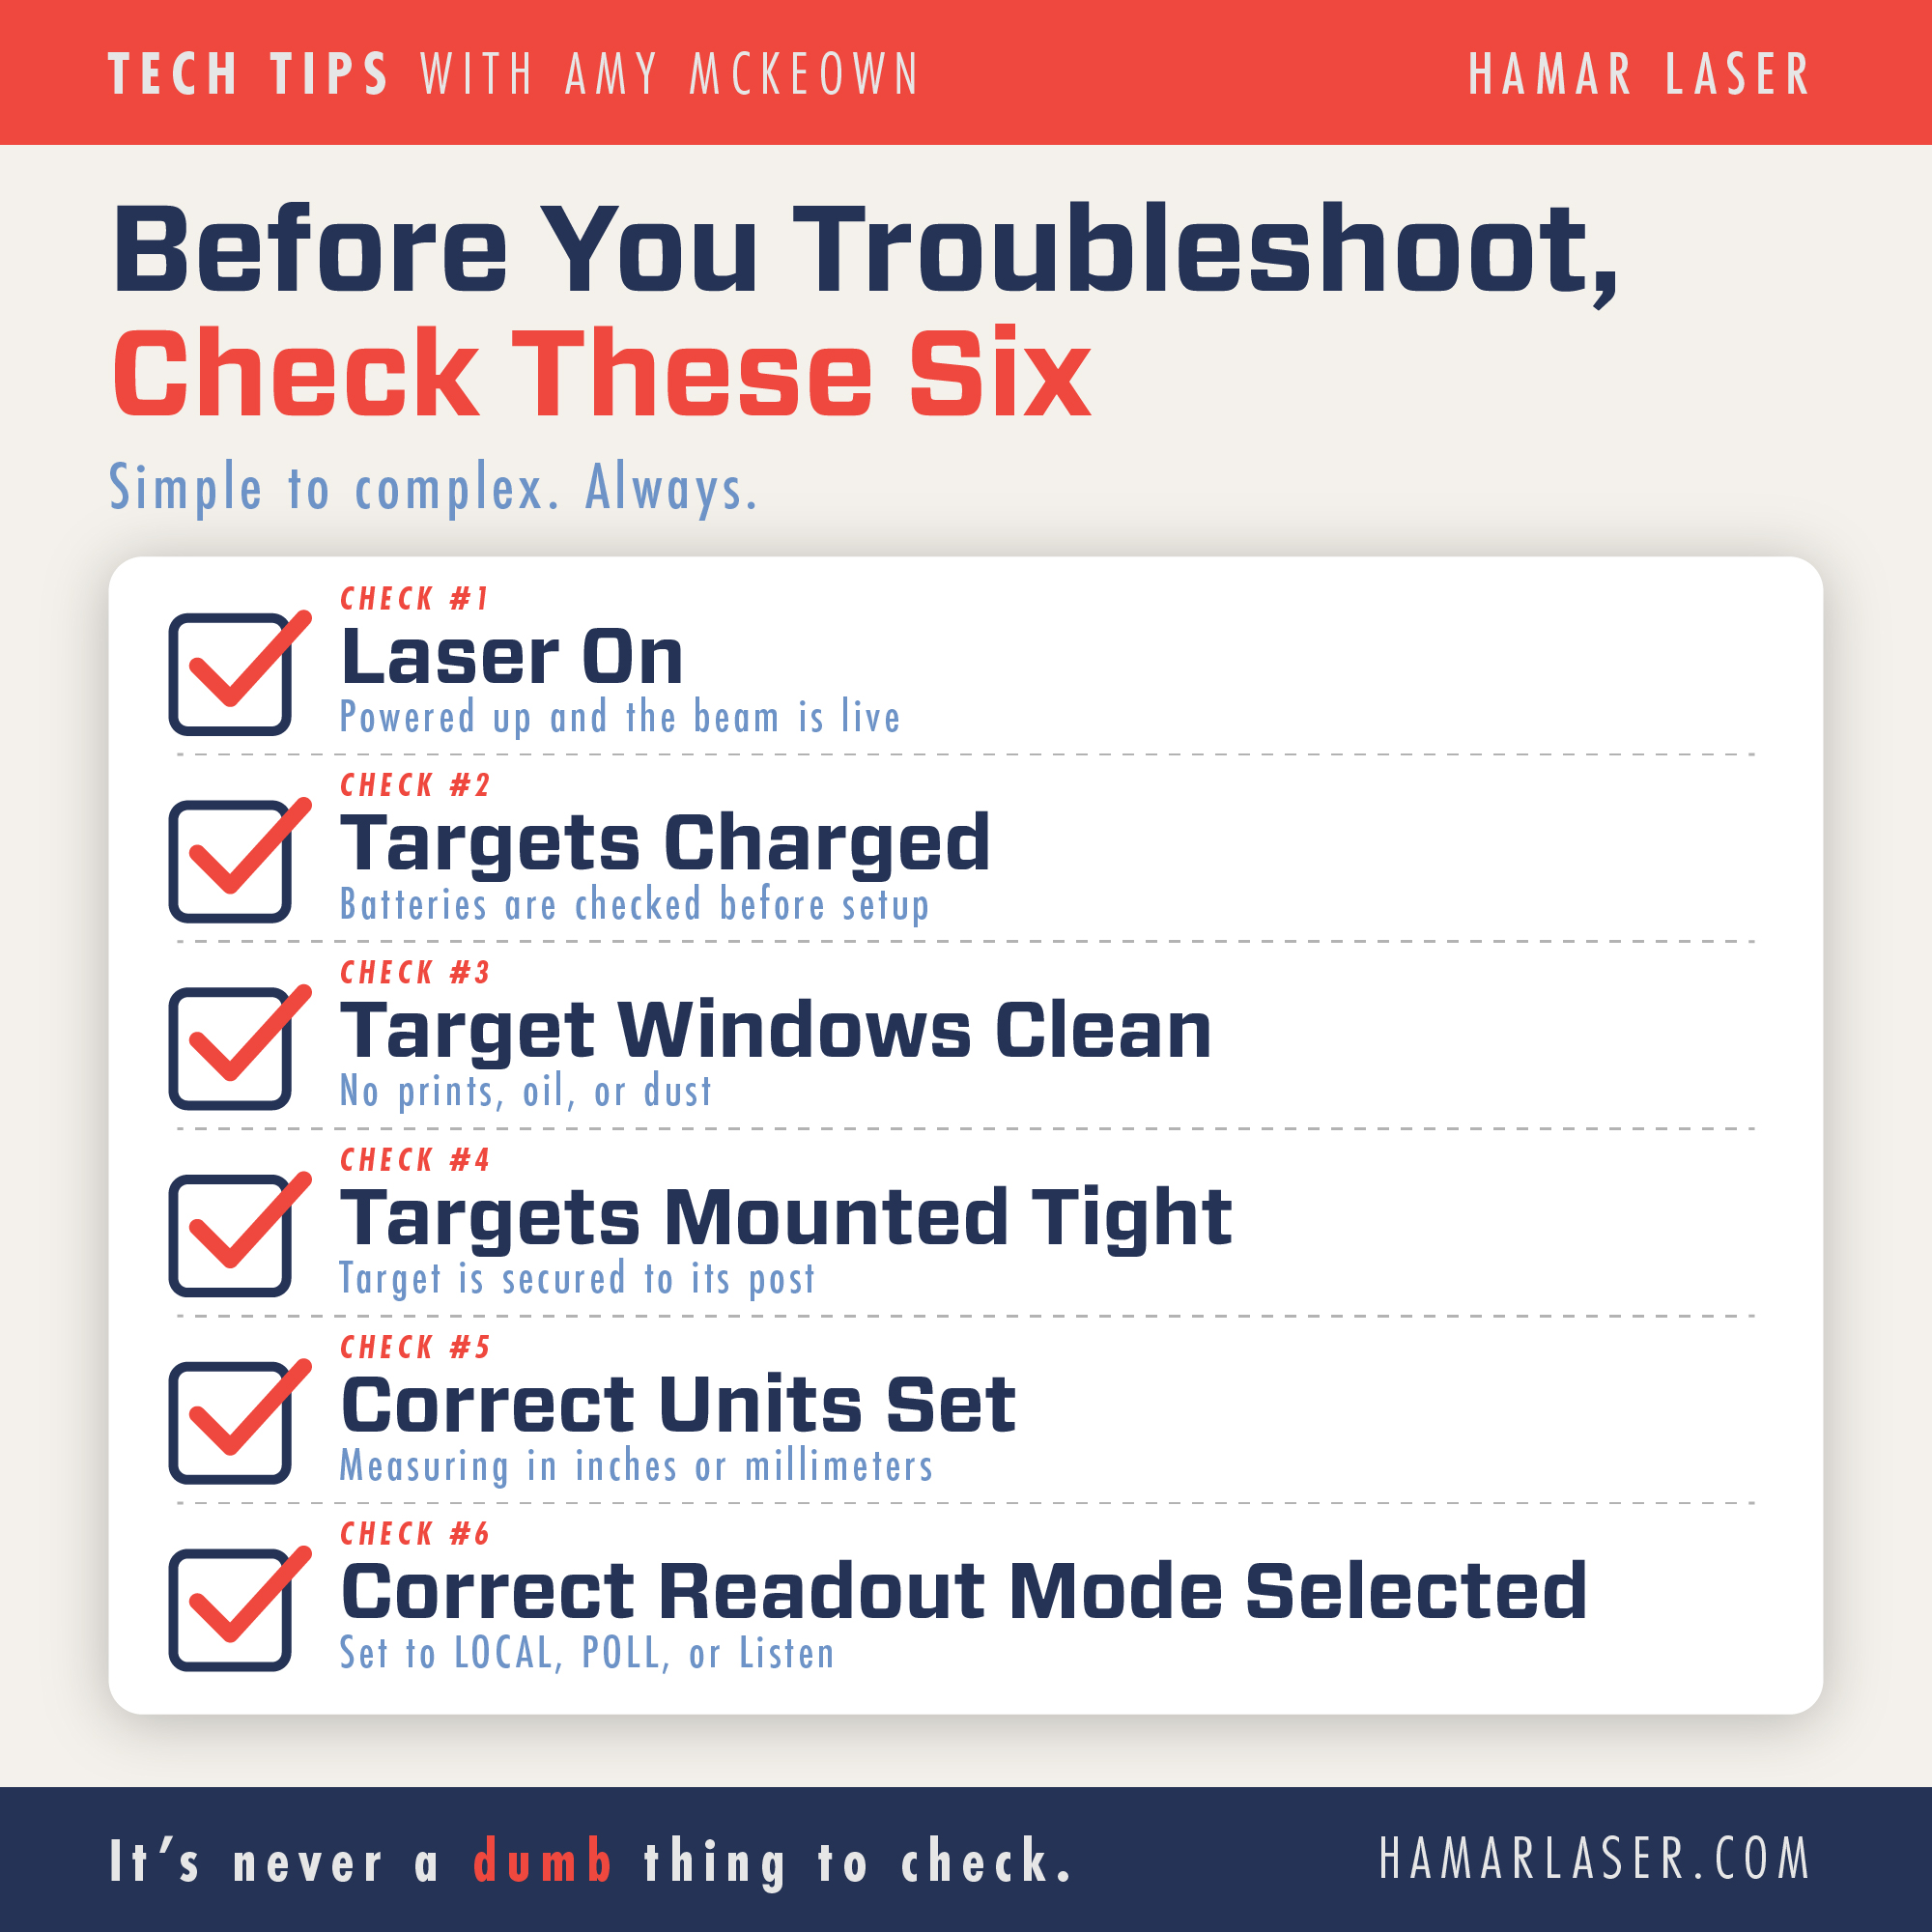
Before every alignment job, take a minute to run through these six checks.
1. Is the Laser On?
Start with the obvious.
Confirm that the laser is powered up and that the beam is actually live before troubleshooting targets, readouts, software or communications.
It sounds almost too simple to mention, which is exactly why it gets overlooked.
Starting at the source prevents a lot of wasted time farther down the troubleshooting chain.
2. Are the Targets Charged?
Check battery levels before beginning the setup.
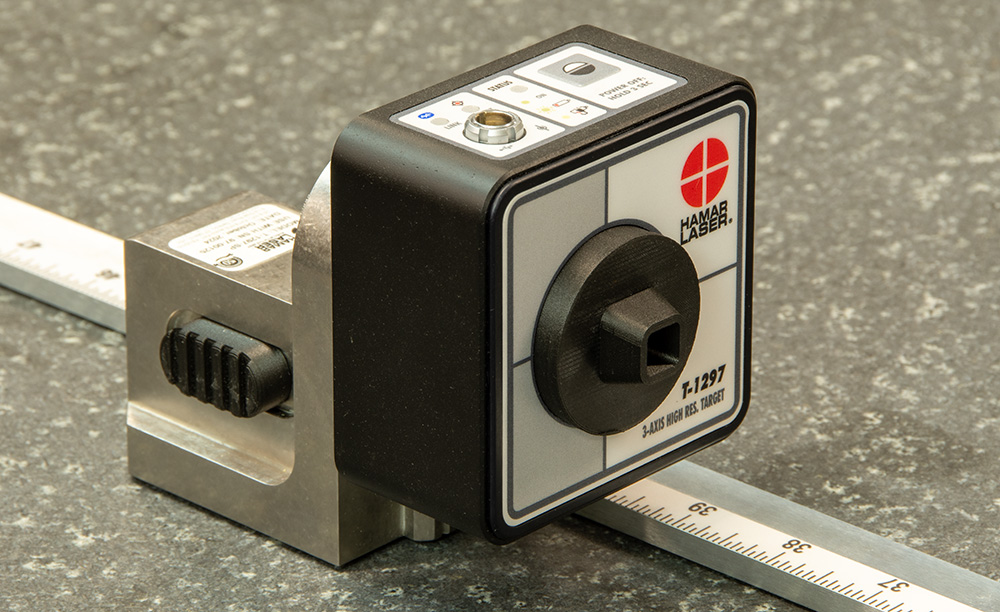
Targets with low batteries may produce:
- Dropped communication
- Intermittent signals
- Unstable readings
- Apparent communication failures
Those symptoms can easily be mistaken for a hardware, software or wireless problem.
Charging the targets ahead of time removes one variable before the job begins.
3. Are the Target Windows Clean?
Laser alignment systems are designed to measure extremely small changes in position.
That means small setup details matter.
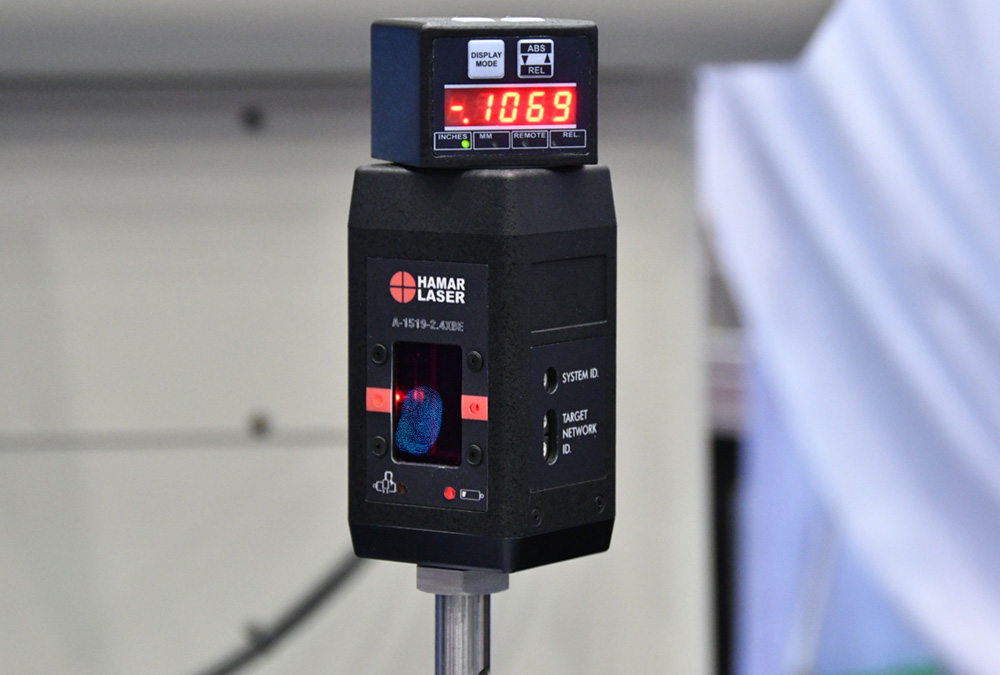
Fingerprints, oil, dust or contamination on the target window can interfere with measurement quality when you are working in thousandths of an inch or smaller increments.
A quick cleaning with an appropriate lint-free cloth takes seconds.
Make it part of the setup routine instead of waiting until the readings look wrong.
4. Are the Targets Mounted Tight?
A loose target can produce a very convincing alignment problem.
If the target rotates or shifts on its mounting post during the measurement, the displayed readings can change significantly even though the machine itself has not moved.
This is particularly frustrating when it happens halfway through a measurement sequence.
Before recording data:
- Tighten the target to the post.
- Check the mounting hardware.
- Make sure the base is secure.
- Verify that nothing can move unintentionally.
A stable target is essential for repeatable measurements.
5. Are the Correct Units Selected?
Verify the units before taking the first reading.
Are you working in:
Inches?
Or:
Millimeters?
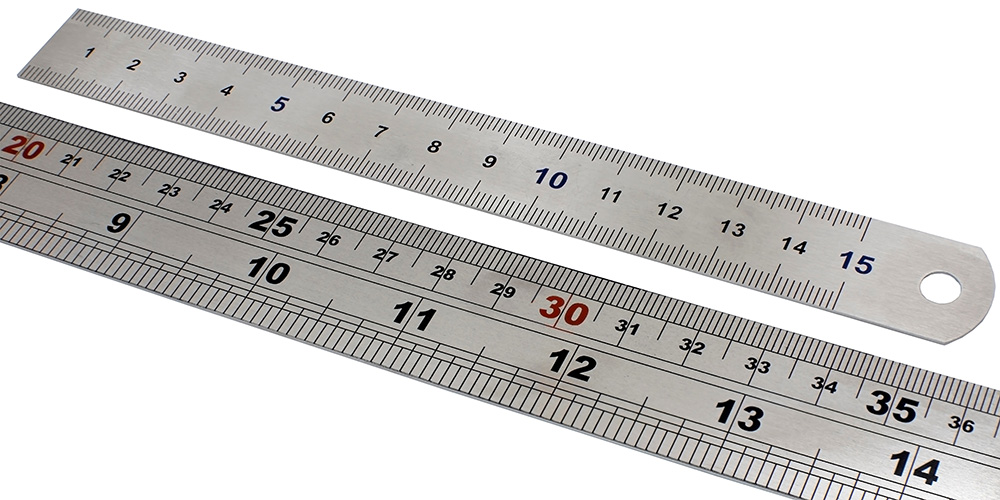
A reading of .01 means something very different depending on the selected unit.
As Amy puts it:
“.01 is quite good in millimeters, but lousy in inches!”
Checking the units takes seconds and prevents potentially significant interpretation errors.
6. Is the Correct Readout Function Selected?
Make sure the readout is using the correct communication function for the setup.
Depending on the system, that may include modes such as:
- LOCAL
- POLL
- Listen
If the wrong function is selected, a properly operating target can look like it has a communication problem.
Before troubleshooting cables, electronics, batteries or software, make sure the readout is simply listening in the right place.
Troubleshoot from Simple to Complex
When something is not working, it is tempting to assume the problem is complicated.
Often, it is not.
Start with:
- Power.
- Batteries.
- Clean optics.
- Secure mounting.
- Correct units.
- Correct communication settings.
Only after those items have been eliminated should the troubleshooting process move toward less common causes.
That approach saves time, reduces frustration and avoids unnecessary changes to a setup that may already be functioning correctly.
It Is Never a Dumb Thing to Check
Good troubleshooting is not about starting with the most complicated explanation.
It is about eliminating the simplest possibilities first.
These six checks take very little time and can prevent a surprising number of alignment problems before they start.
And if the basics all check out and you still need help, Hamar Laser Customer Support is available to assist with system setup, operation and troubleshooting.
